Have you ever wanted to learn how to make shatter, but don’t know where to start? We don’t blame you; the task is a daunting venture for anyone without experience. But, we have good news for you; we’ll be covering the process, step by step, to make even the most novice of chemists into professionals.
Producing shatter is excellent for several reasons. Shatter is an expensive product, and by making your own at home, you save tonnes of dollars. Additionally, the potency and quality are entirely left to your own discretion. You decide how strong you want the shatter to be as well as the equipment and ingredients used throughout the process.
Making shatter does require precaution and a keen eye for safety, so don’t disregard any steps throughout and you’ll save yourself from any mishaps or injuries.
With that said, let’s first take a look at what shatter is before we get into the steps.
How to make Shatter – What Exactly is Shatter?
Shatter is a marijuana concentrate produced by extracting THC and the cannabis plant’s other active compounds. There are many methods for extraction with BHO, or butane hash oil extraction being the most common. This process involves using butane to purge the plant of its active compounds, but we’ll get more into that shortly.
Until the invention of THC Distillate, the title for strongest concentrate belonged to shatter. The potency depends on the quality of cannabis used, but a professional extraction process with the proper equipment will generate products in the 80% THC range! This is 3 times stronger than the most potent cannabis strains, which tend to max out around 28% THC.
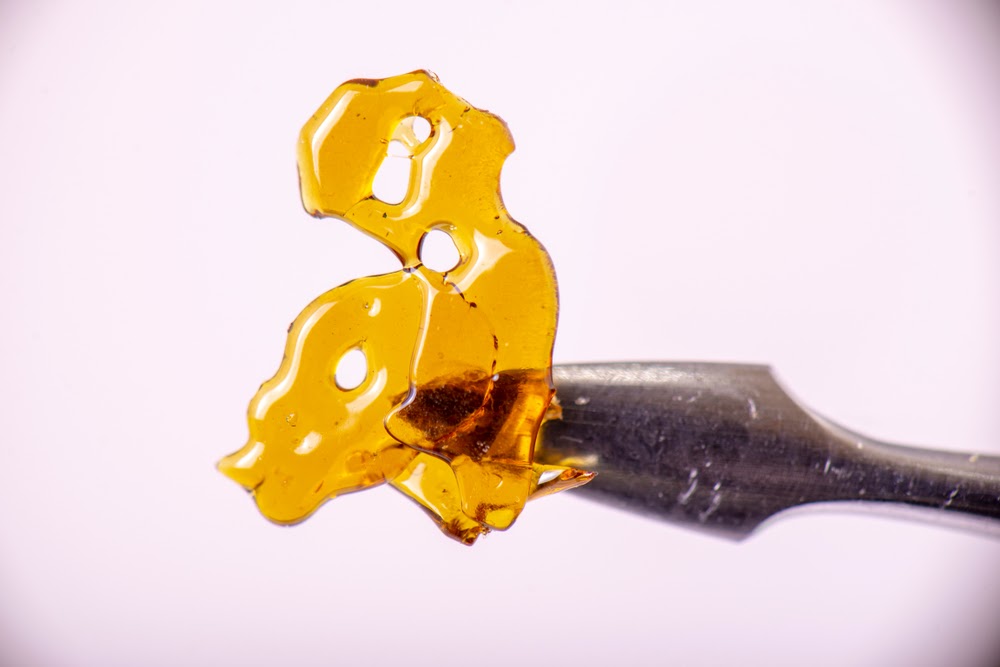
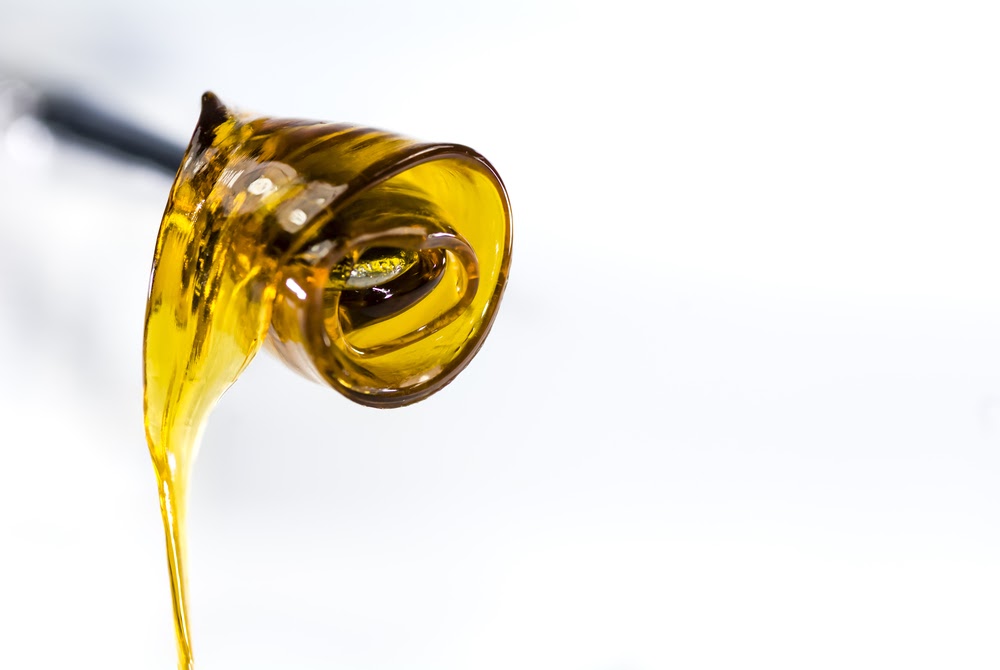
Shatter earned its name due to its aesthetics. The extract often assumes the appearance of glass, with a tendency to “snap” when broken.
Of course, this isn’t the only form it takes. BHO extracts come in a variety of forms which can range from a wax-like material, to honey and sugar crystals. However, due to its appearance and ease of use, glass shatter is the most common.
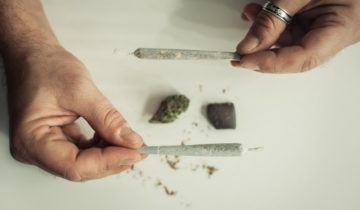
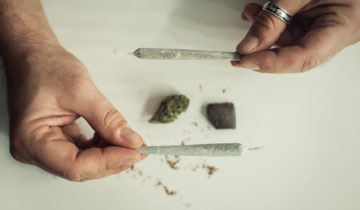
Another perk of shatter is their wide range of uses. Most like to “dab,” the concentrate, which uses a dab rig to vaporize the concentrate. But it’s also easily added to a joint or pipe to enhance the smoking experience.
Now that we’ve got a brief overview of what shatter is let’s jump right into how to make shatter.
How to Make Shatter – Ingredients and Tools
You don’t need a personal lab to make shatter at home, but you will require the following ingredients and tools. Some are found right in your kitchen, while others are easily sourced via Amazon or a hardware store.
If this is your first time and you have friends that are already making their own, it’s always worth asking if they can lend you a hand and the equipment to see if making on your shatter is right for you.
You will require the following.
- An ounce of cannabis – Remember, your shatter’s quality will directly reflect the cannabis used. Purge shake and expect poor quality shatter.
- Butane Canister
- Extraction Tubes – Found on amazon or cannabis stores.
- An Electric Element With Double Boiler – Do NOT Use a gas stove, this is a recipe for disaster as we’ll be using flammable materials.
- Pyrex Dish
- Straight Blade Shaving Razors, The Hot Shave Variety
- A Vacuum Purging Kit – This is the most expensive piece of equipment. As mentioned, if you can borrow one to try out, great. If not, don’t worry. The price is worth the money you’ll save in the long run.
Last but not least, the working environment. Using a well-ventilated and clean workspace is paramount for safety. We can’t stress this enough. Making shatter is potentially dangerous if your kitchen or “lab” isn’t ventilated.
Don’t let this put you off, if the setting is safe, then so are you.
Thank you for sitting through the safety portion of this course, now let’s get to making shatter!
Step by Step Guide on How to Make Shatter
Preparation and Duration of Process
All good things take their time, so don’t rush the experience. Creating your shatter at home is a multi-hour process, usually taking an hour or 2. From then you want to let the product settle and cool, done so by letting it chill in the fridge or freezer.
- Grind Your Weed
To start the process, we need to grind the product. Finely ground cannabis produces a better product due to the increased surface area of your flower. You don’t need to keep going at it until it becomes dust, as you would for a joint is perfect.
A great tip is to do this the night before or to use dry cannabis. Damp cannabis is harder to purge and will affect the outcome.
2) Fill the Extraction Tube
With your cannabis all ground up and dried out, it’s time to pack the extraction tube. Just like when you ground the weed, we want to hit the sweet spot.
Pack the tube tightly, but not so much the butane won’t be able to douse the flower. You don’t want to see any gaps in the flower, but it shouldn’t be rock hard like cement.
Most extraction tubes accommodate 24-28 grams of cannabis. Any more and you won’t get a good purge.
3) Saturate the Cannabis with Butane
Please exercise caution when using butane. Butane is highly flammable, and we don’t need to get into what happens when there’s flame added to a combustible product.
Although you can do this at home, we suggest going outside in an open-air setting with plenty of air circulation. Doing so ensures you reduce any risk, and your house won’t smell like butane.
As a rule of thumb, use 1 canister per tube. You’ll notice there are different sides to the tube, one with a filter and the other has an opening. The opening is the side you’ll be inserting the butane.
With the filtered side over the pyrex dish, flush the tube with the butane until the weed is completely saturated.
The tube will fill with a dark green, almost brown like substance. This is normal.
4) Remove the Butane
Using your electric element and a double boiler, we’re now going to remove the butane from the product. As mentioned, it’s imperative to use an electric element instead of gas-powered. Any open flame is a sure-fire way to lose a couple of fingers or worse.
Bring the double boiler to a boil and place the pyrex dish on top. The butane mixture will begin to bubble and steam; this is good. Keep going. The product becomes thicker, and the bubbling has stopped.
Don’t stand right over the pyrex dish as you’re actively adding some not so healthy butane into the air. Using a mask is great, but standing further away is sufficient.
5) Time to use the Vacuum Purge
Although the double boiler is excellent at removing most of the butane, there are still remnants left in the product. This is where the vacuum purge comes into play.
Every kit will be slightly different but have no worries as there are clear cut instructions that come with it. But, once again, make sure to use a ventilated space.
6) The Home Stretch, Collecting the Shatter and Storing
Welcome to your new life as a shatter making pro. But before you call it a day, we need to remove the shatter from the pyrex. Using the razor blade, scrape the shatter onto the parchment paper.
Once you’ve got all the shatter off, place it in the freezer for at least 4 hours.
Producing Shatter is Easy and Worthwhile – How to Make Shatter
Now, that wasn’t so hard, was it? Shatter is a versatile extract and easy to make with the right guidance and precaution. Becoming a shatter DIY King or Queen will save you money over the long run, and it’s also a fun little project to work on and teach your friends. Plus, you may even make extra cash from it!
Want to learn more? We provide a wealth of guides and articles that are a great tandem to how to make shatter. Follow our blog page for the latest on the world of cannabis.


 No products in the cart.